http://www.youtube.com/watch?v=2eyS54AdG_Y
I will have better video later, I got this out as quickly as I could!!
As I said, I have been lurking, listening, watching, and finally formulating my own little silencer philosophy that culminated in the can you see.
I am an artist and metalworker of 25 years. I work in steel processing plant running plasma cutters, flat and tube lasers, brakes, and am an accomplished welder in TIG/MIG/ARC and oxy/fuel. I am definately a cro-mag in comparison to the many machinists that frequent this forum, but I have my strengths.
I had an epiphany one day. I was running a COF when a competitor arrived with an AR10 and AR that he was swapping a AAC can back and forth from. I was always under the impression that the diameter of the can's hole diverted the gasses because it was so tight and the gas's only alternative was to be diverted to the nearest lower pressure area. But this didnt make sense when a 223 and a 308 both were SUPER quiet using the same can. I had always been discouraged to build a can due to all the high tolerances that I felt I couldn't maintain with my low tech garage shop.
The diameter of the hole changed everything for me....
I really started thinking more about fluid dynamics, than design of a 'thing'. How could I disrupt, divert, and peel away the gasses behind the bullet. I arrived at a square can, because fluid hitting 90degree angles seemed the most likely method of ripping the gasses from the back of the slug.
What you see below is how I arrived a happy participant in your group....a slightly red-necky one! But a participant none-the-less:
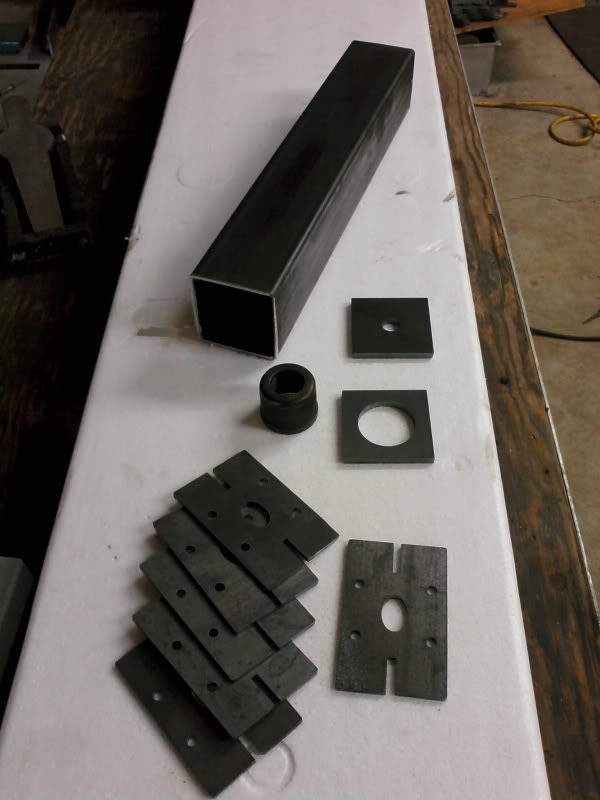
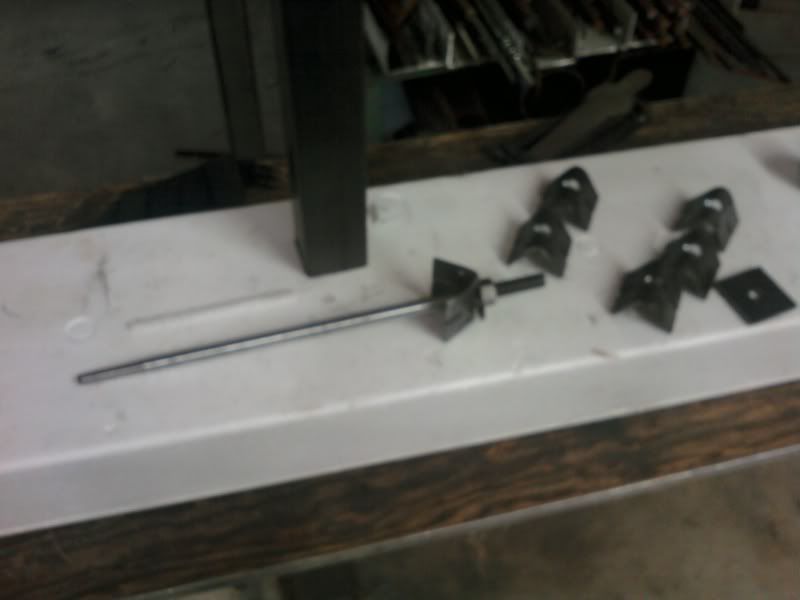
Here are the parts involved.
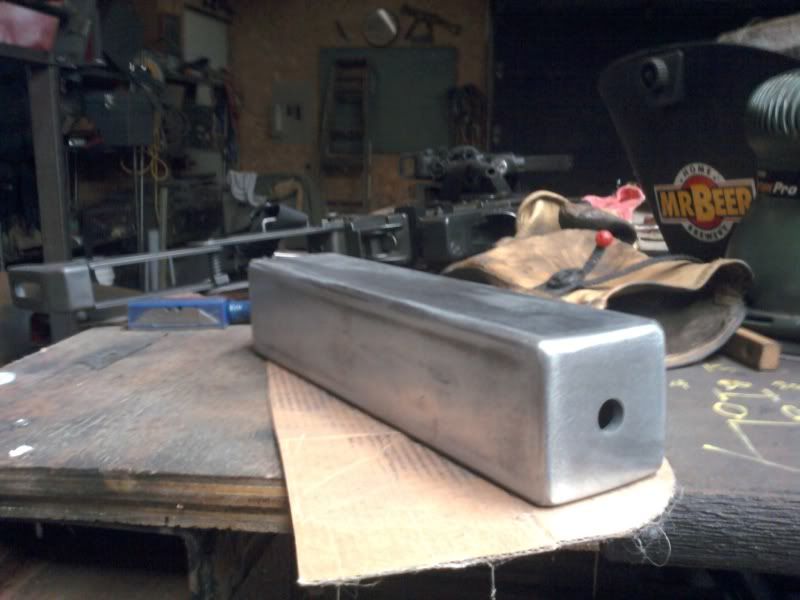
-2x2x16ga mild steel tube
-an UZI barrel nut $12
-7ga laser cut baffle flats
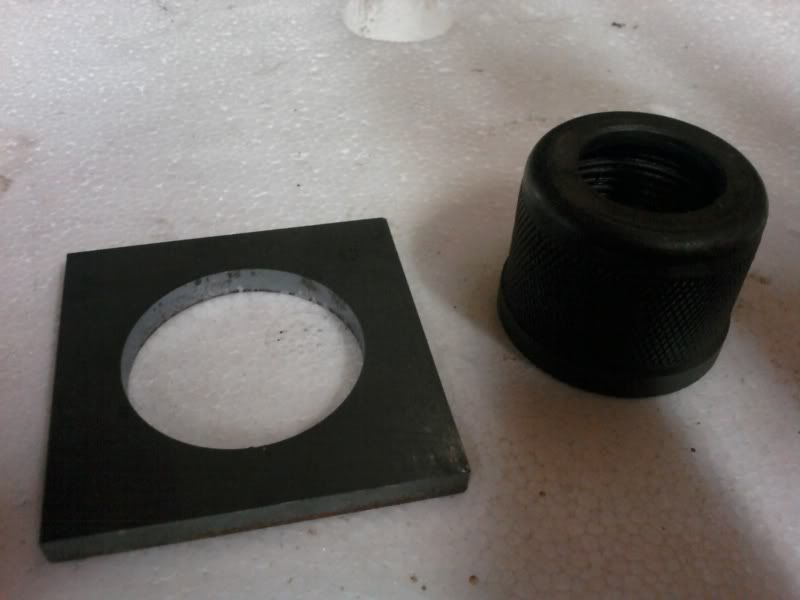
-end cap and UZI nut flange
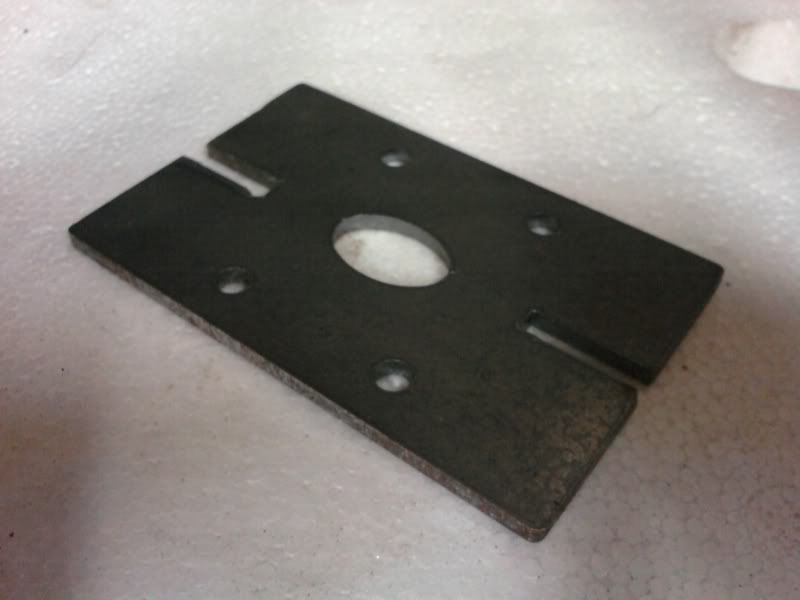
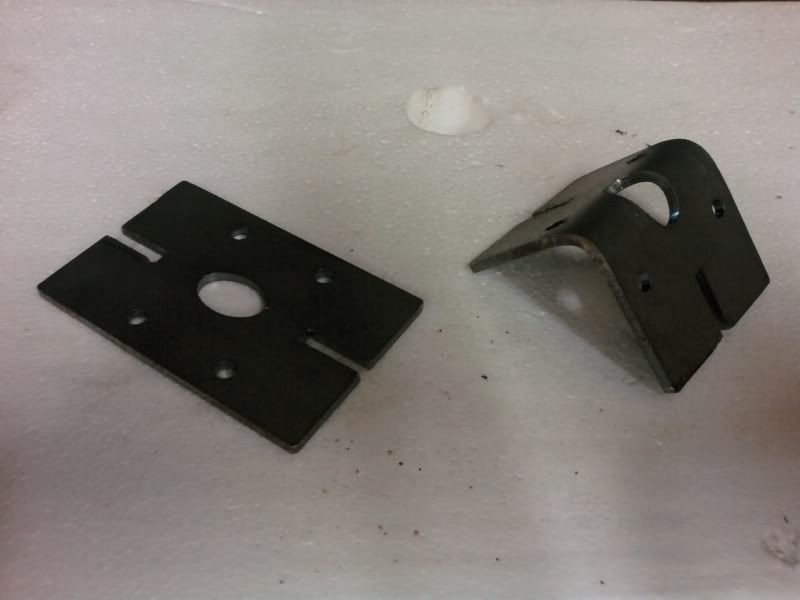
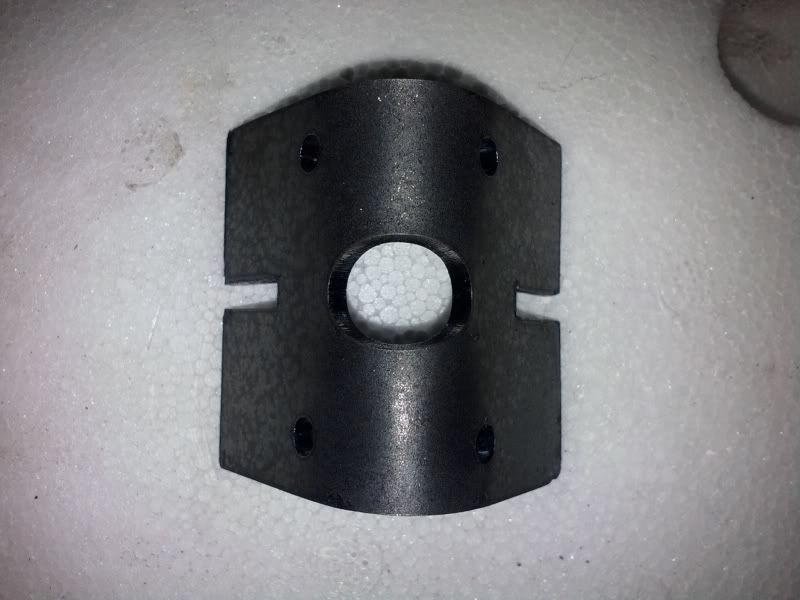
Here is a flat baffle
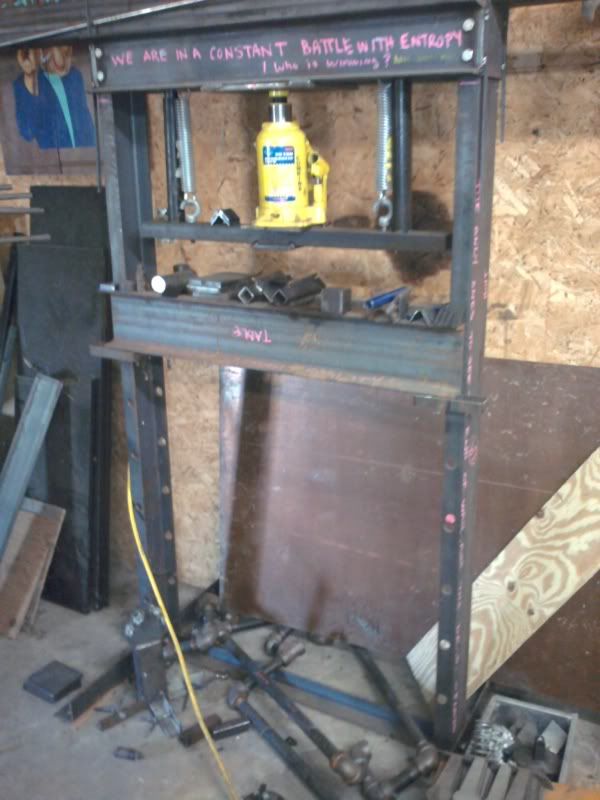
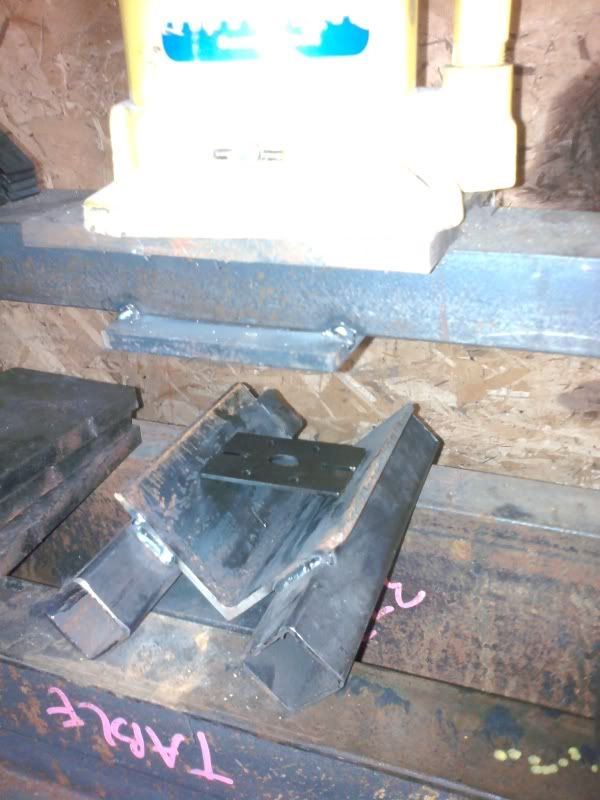
This is the press I built I will be bending the flats in
Here is the baffle in my home made die, pre-bend
During the bend
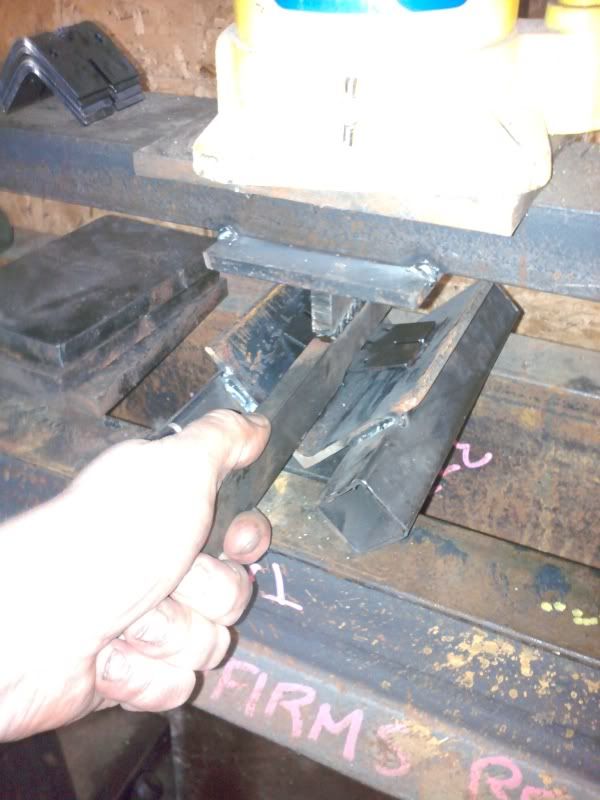
And the bent baffle
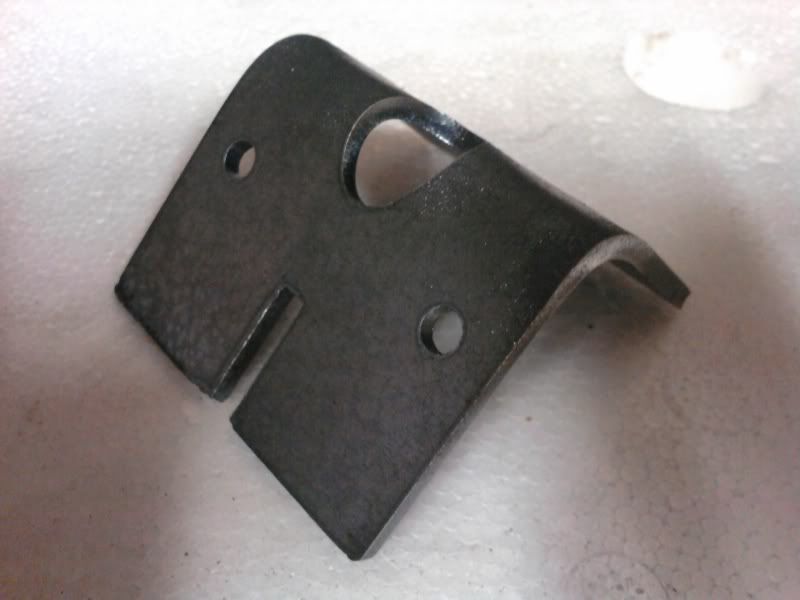
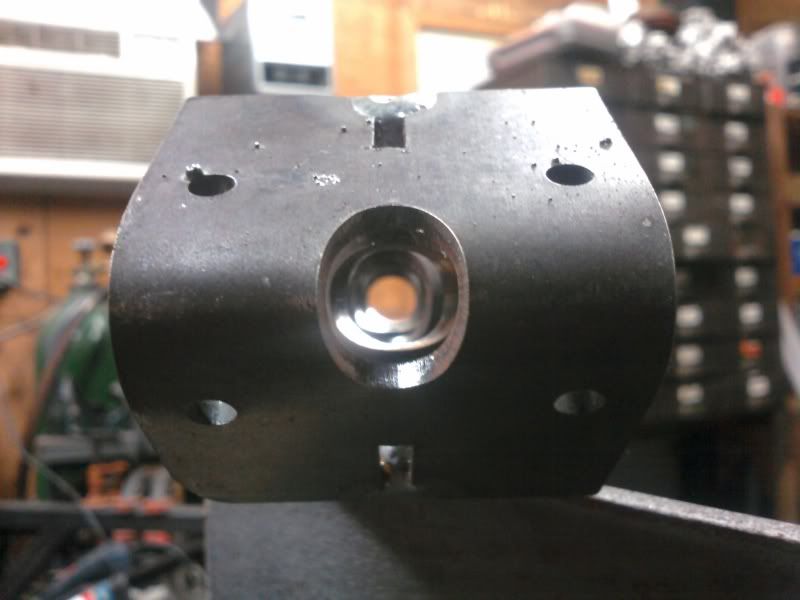
If you noticed in the flat, I made the hole in an elipse. It's .443" in its smallest diameter. When the elipse is bent it forms a .443" round hole, as seen below (the shadow gives the hole a weird square look. Chalk it up to a bad camera....sorry):
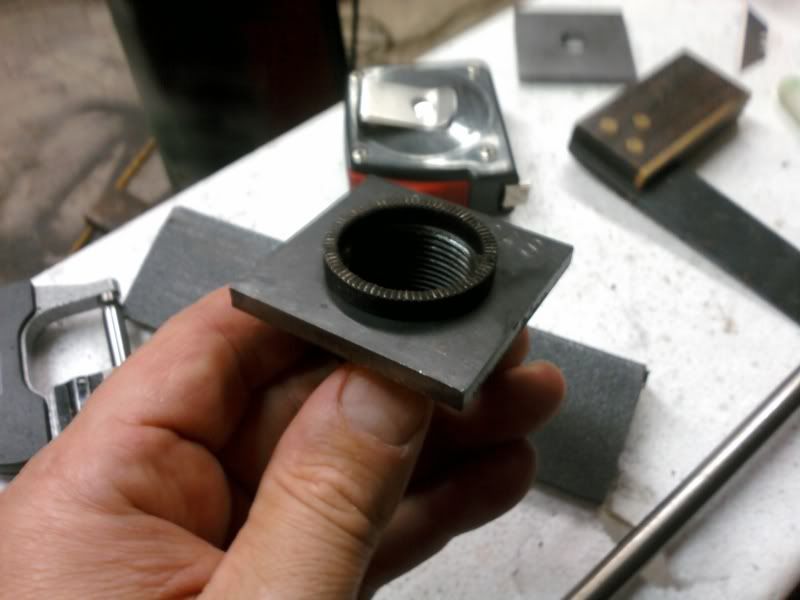
Below you see the UZI barrel nut and flange:
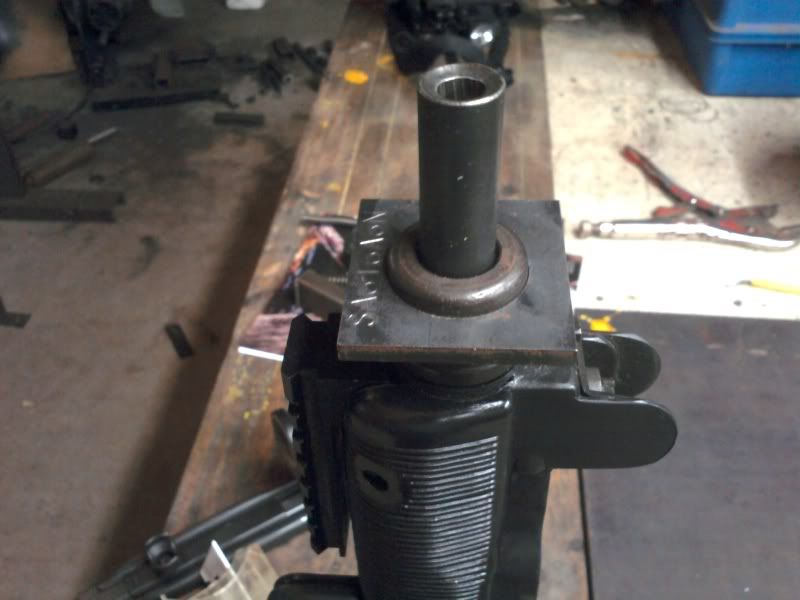
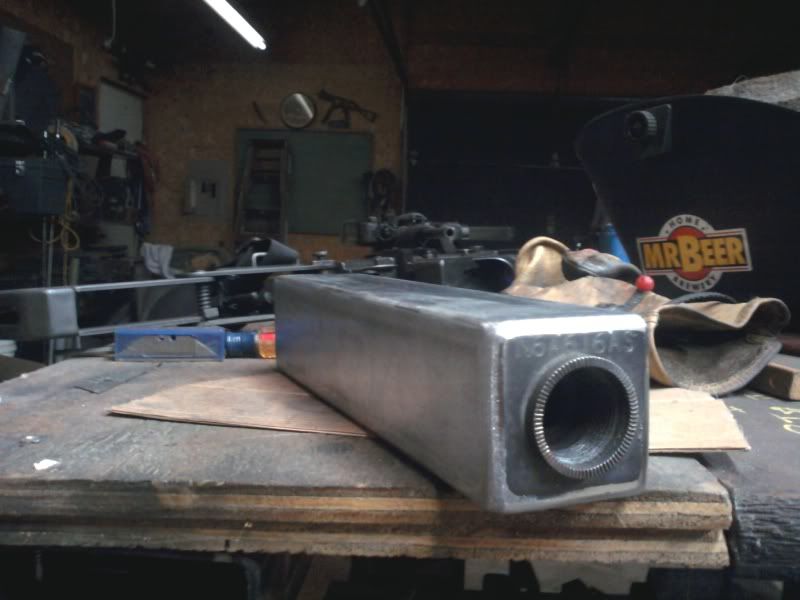
Here I am indexing the flange to the nut to the UZI. So that the can will square up to the sexy squareness of the UZI!!!! You might notice the serial number on the 'inside' of the can. I stamped it backwards...like a moron. So I just stamped it correctly on the other side and figured no one would see 'this', but you did, so .....durn it....
Pre-pressed:
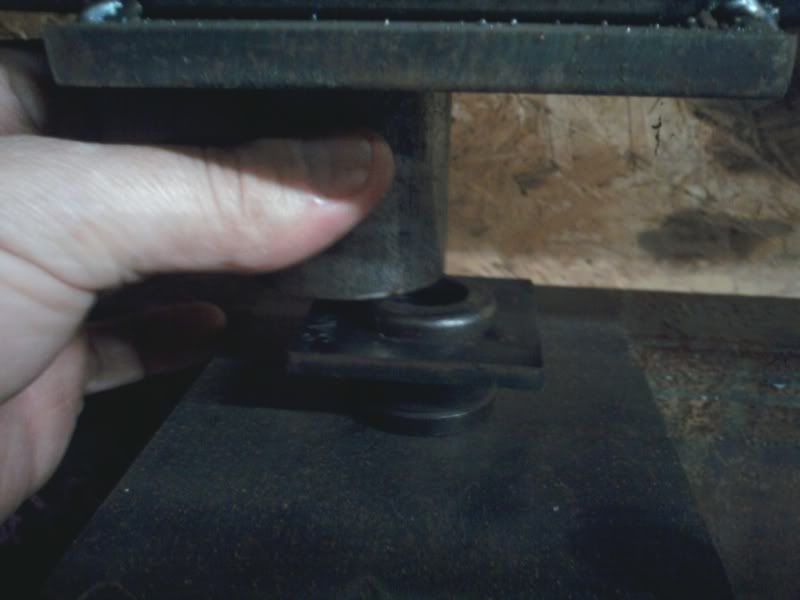
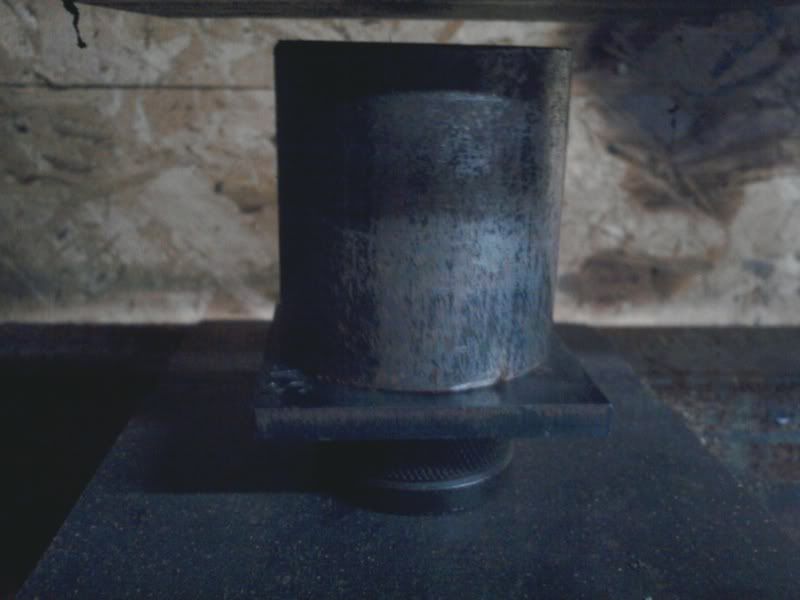
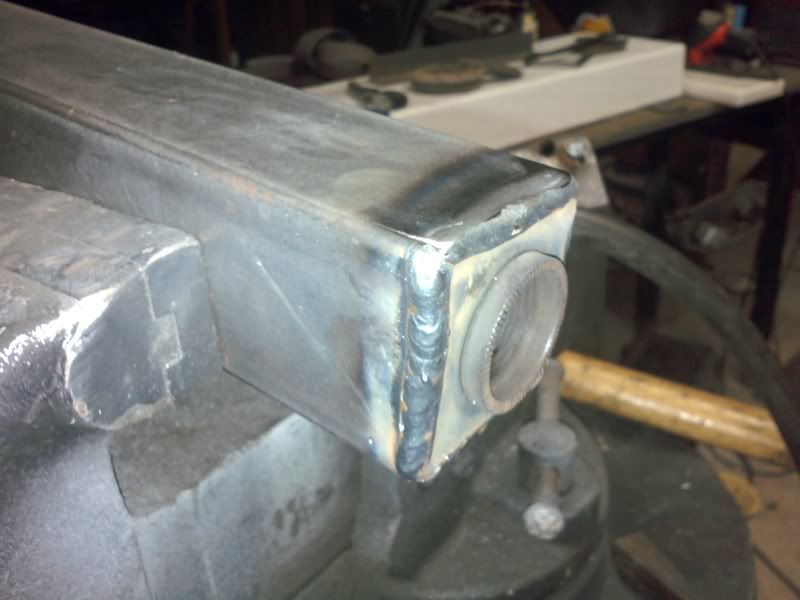
Post press. Barrel nut side
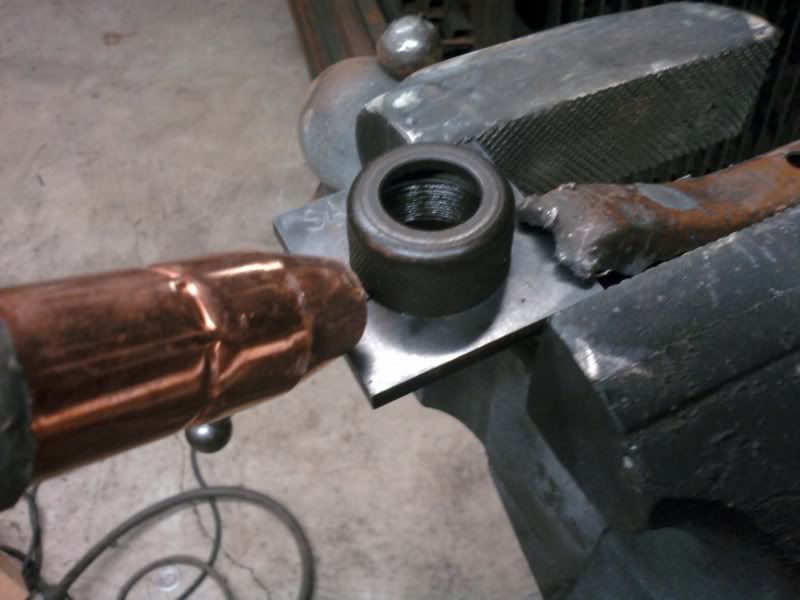
Welding of the barrel nut to the flange
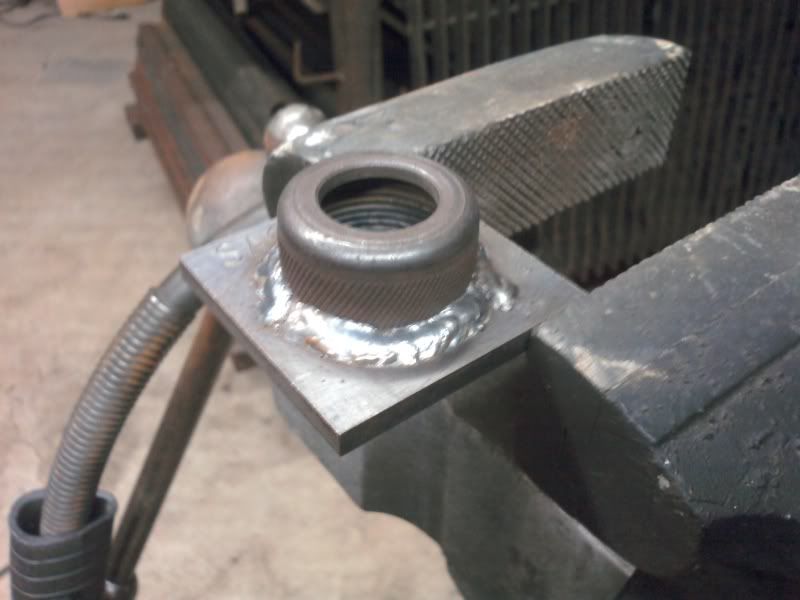
Welded
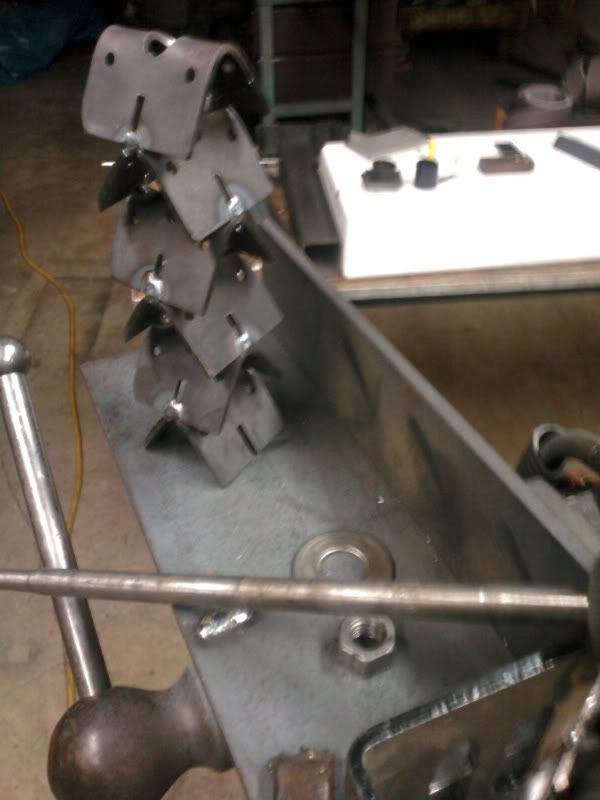
The next step I took was stacking and aligning the baffles. Sorry about the blurry pix. This whole post was shot on my phone. I had a threaded rod that I stacked all the baffles on.
Here are the baffles staggered and stacked
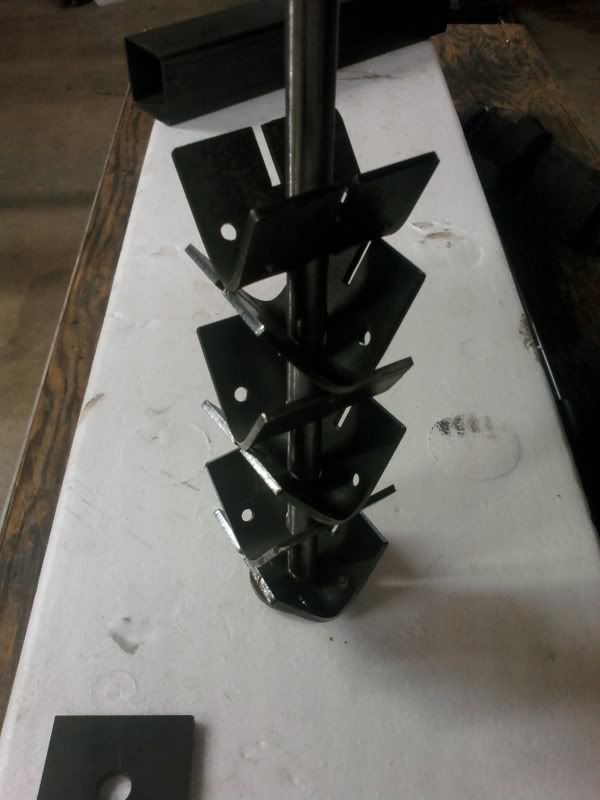
Heres a side view of the stack
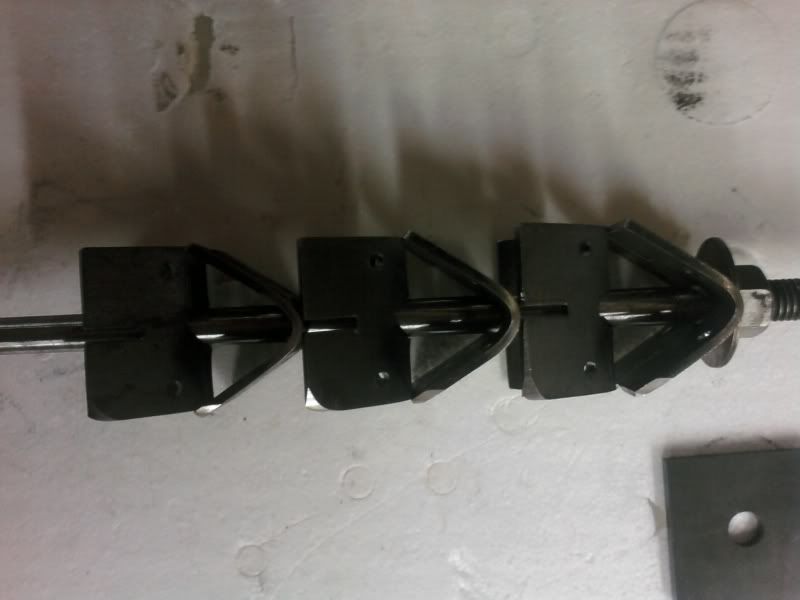
I made a square fixture that the stack rested in, and was compressed by the threaded rod. The baffle you see at the end of the stack was just used to square the whole assembly. Then i hot tacked all the unions and waited for the assembly to cool so alignment wouldn't change
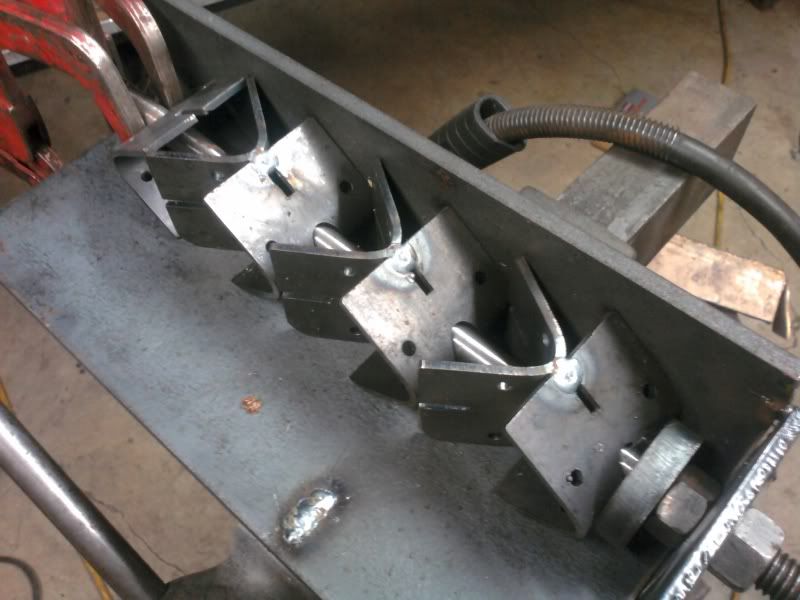
Front view of stack after cooling. I cleaned all BB's up and chased back the hot tacks flush with the stack. I burned HEAVY, so the stack is pretty frickin solid on its own
After chasing the welds on the baffle stack, I measures all the unions I would be welding. I then drilled the tube with these locations
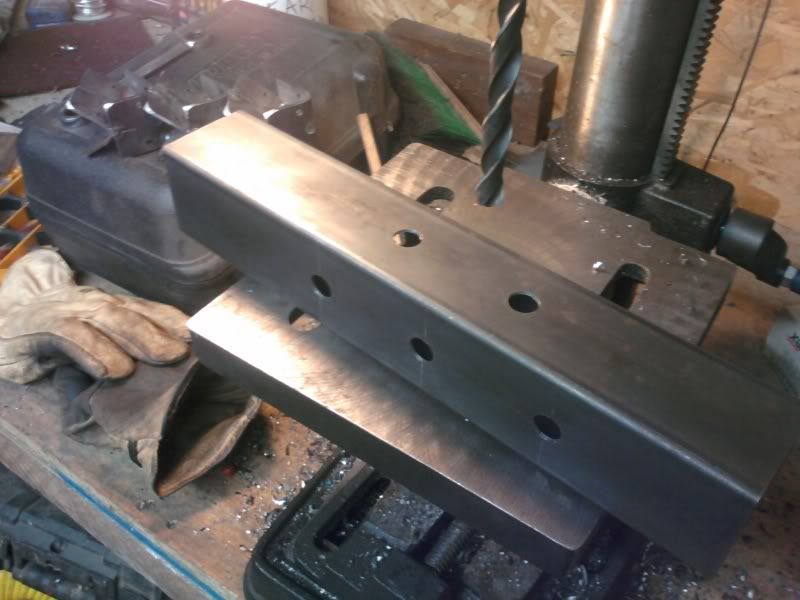
I then inserted the stack
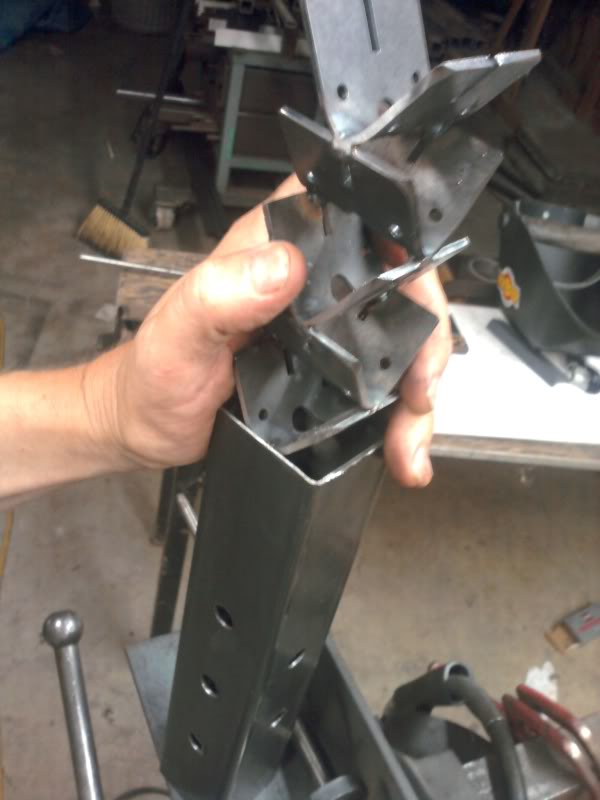
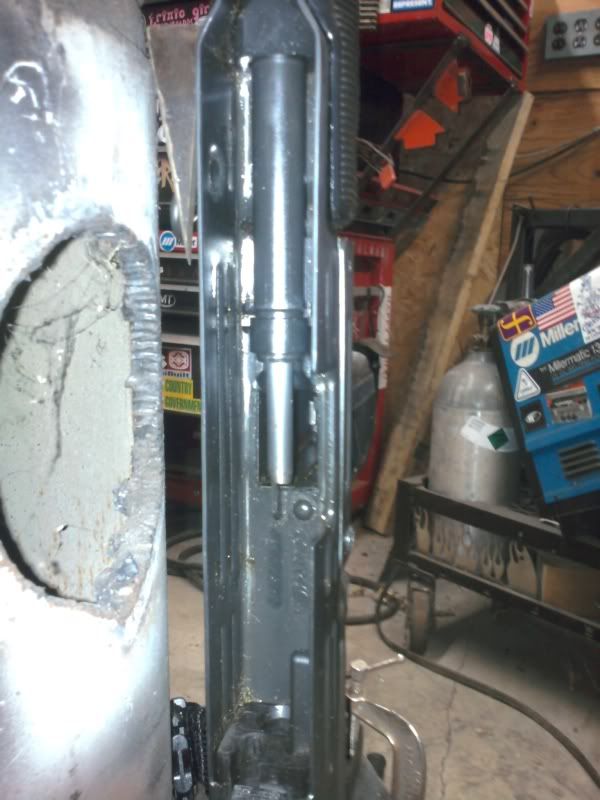
Here you can see the unions I will be welding through the plug holes
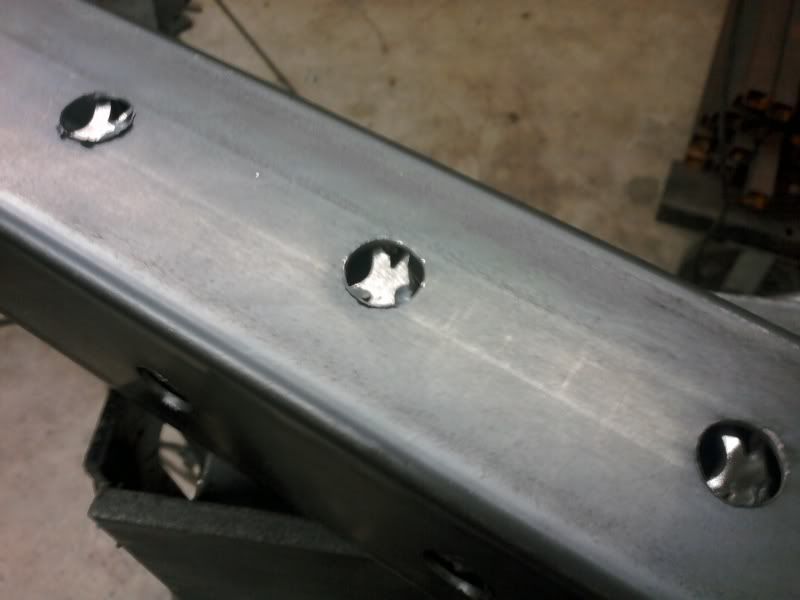
All plug holes welded!
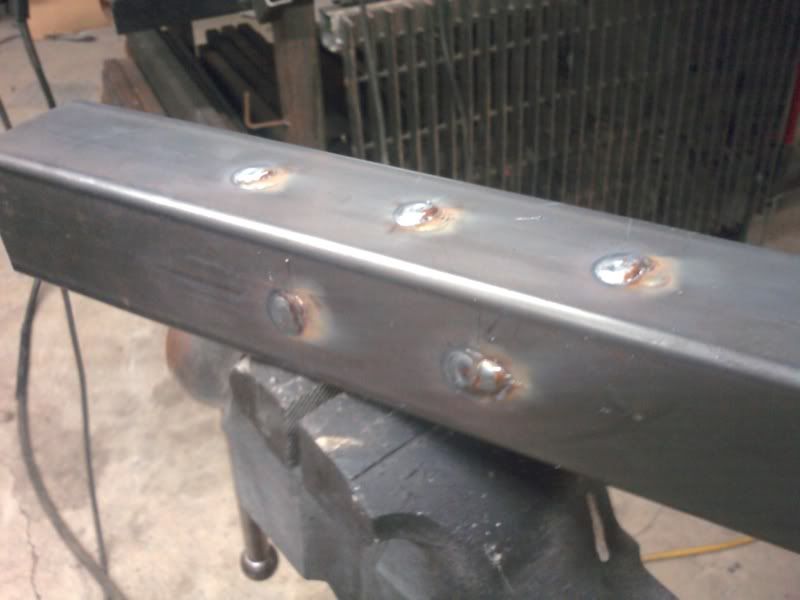
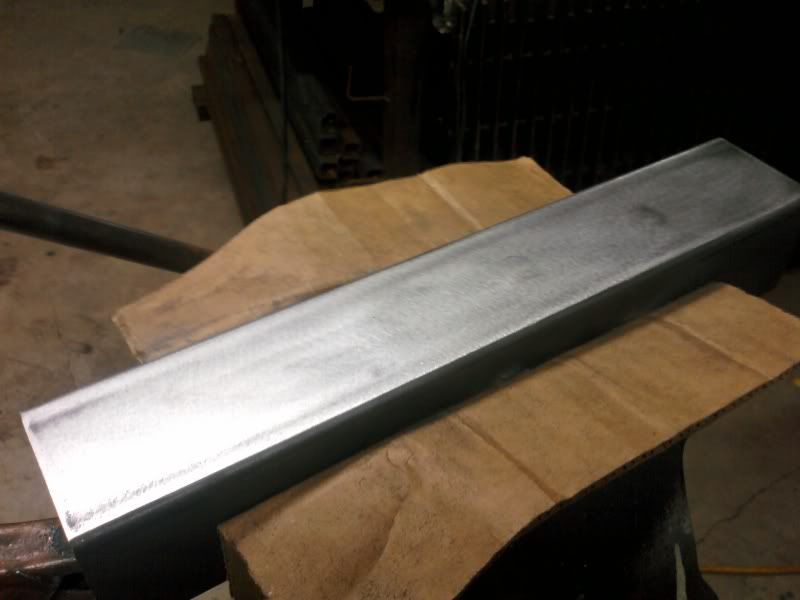
Chased back all the external welds and D.A.'ed!
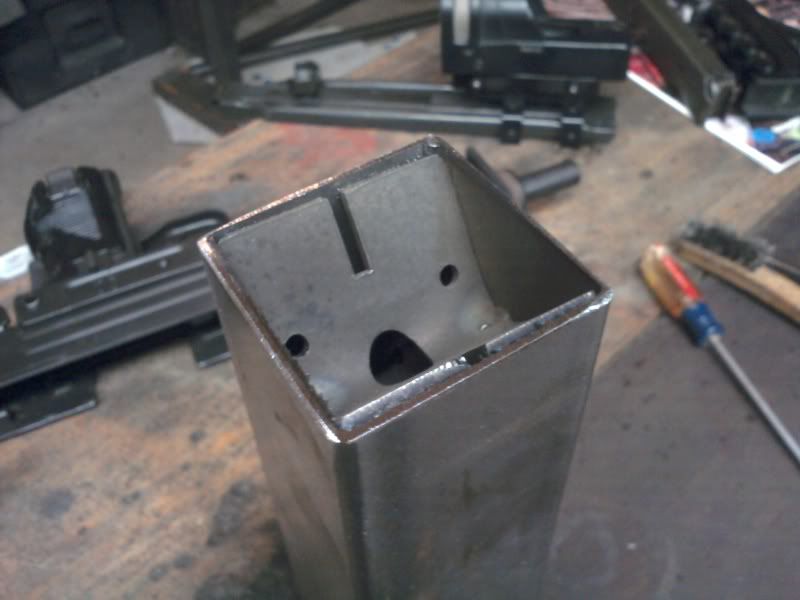
Here is the END of the can
So up until now it's all been gravy. Now I am going to weld the finished can together to the UZI. I made a cutout carboard sheild that would cover the gun during the process
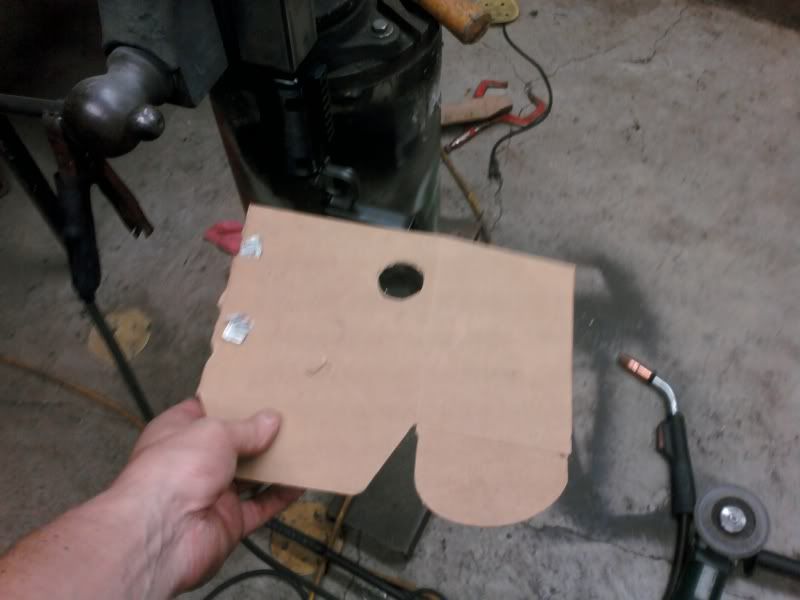
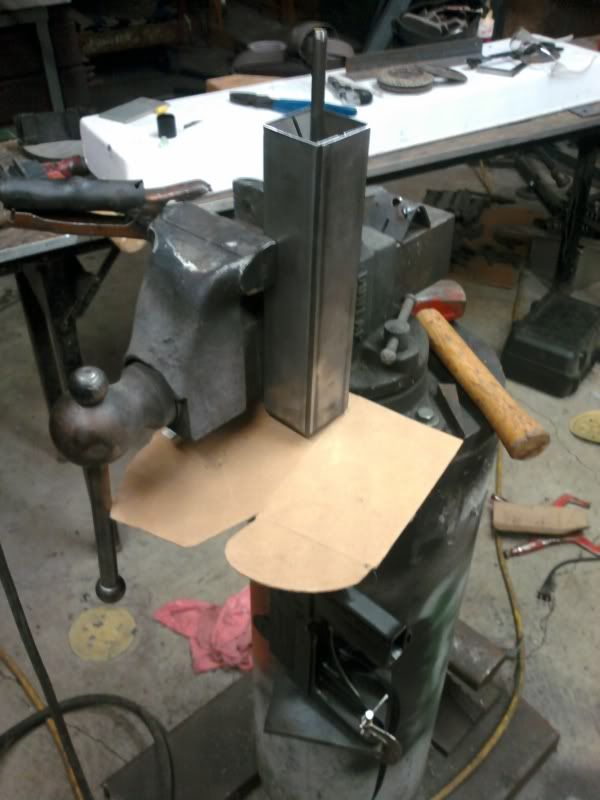
What I did was weld a small shelf to my vise that the UZI rested on.I wrapped the cardboard over the barrel nut, and cradled the can in the vise.
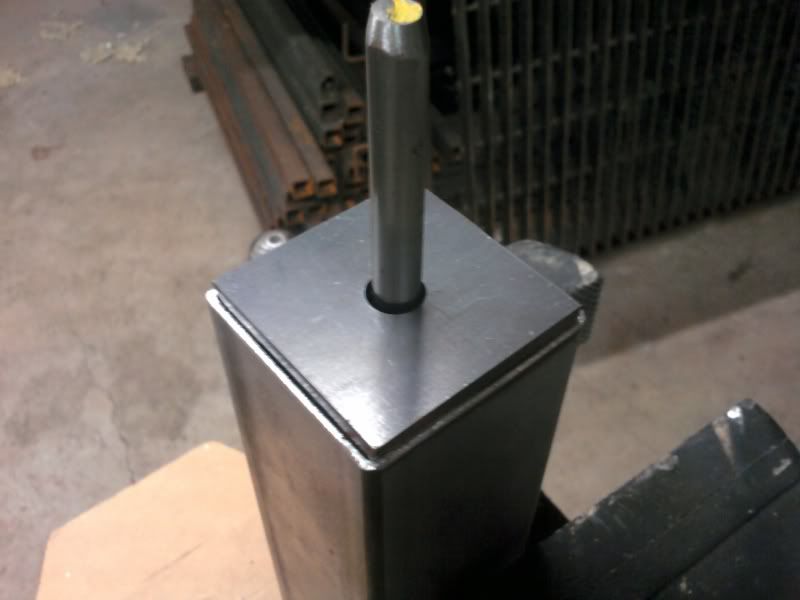
I got an 11/32" piece of drill stock that I inserted into the UZI's barrel that I used during this whole alignment process. Once I aligned the bore, to the baffles I welded everything together, starting with the nut flange at the bottom.
Here you can see the drill stock in the receiver
And through the assembly

Once that was hard tacked into place I added the end cap. All the adjustments Were made while the assembly was attached to the UZI.
Welded end cap
Barrel nut end chased
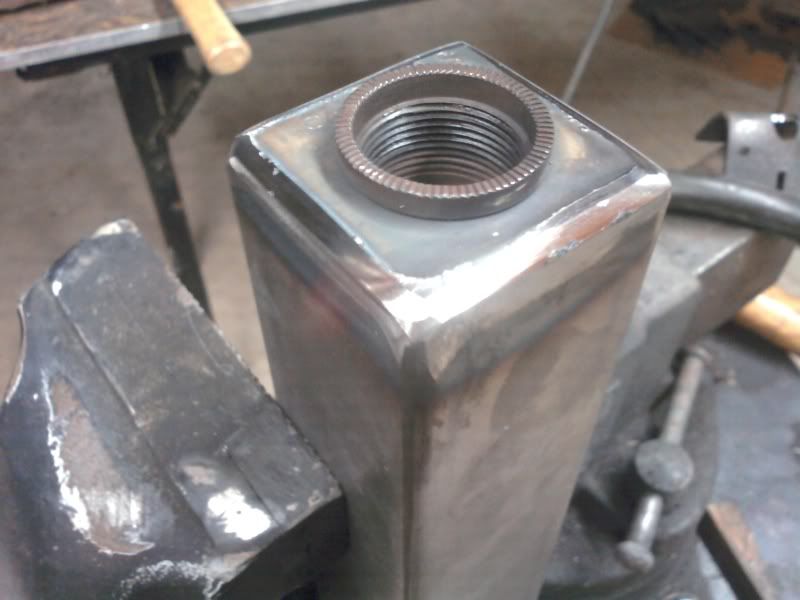
Exit hole chased and D.A.ed
Finished barrel nut end!
And there you have it. Be gentle....