Form 1 M2 Mortar Build
Posted: Tue May 10, 2016 8:31 am
This is going to be a very long running thread but last month or maybe it was march, I filed for a 60mm mortar. It will NOT be authentic due to cost but it will be as true to form as I can get while managing to keep buying vs machining in check. I have amassed enough drawings/info from other owners to turn the tube and cup to spec. The bipod assembly and baseplate I have less info on but I probably have enough to make a functional albeit not exact replica. I like to think that 70 years ago when my lathe was made there was a man or woman doing the same thing to aid the war effort. Not likely but it is a cool thought.
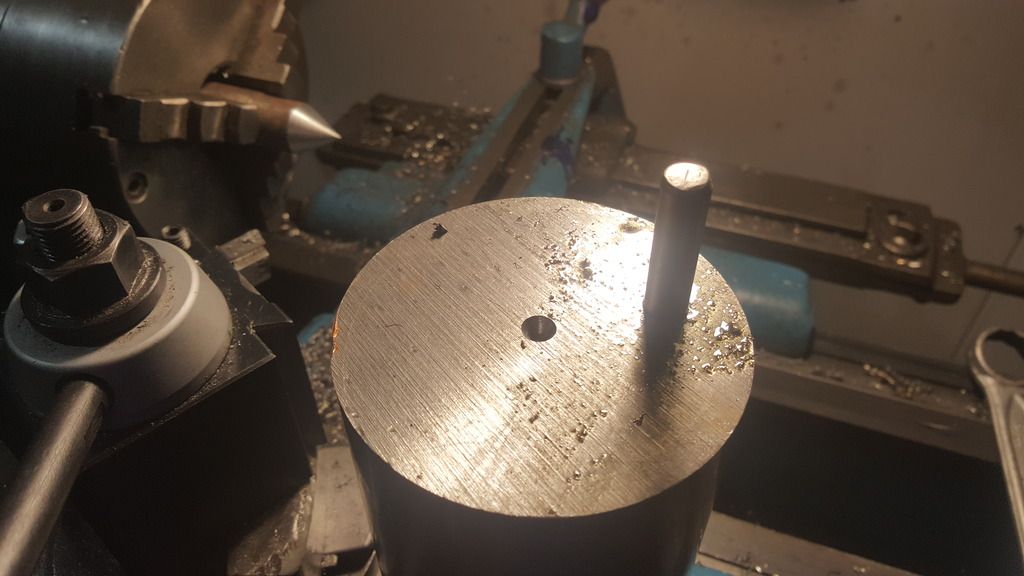
Since the cup is not an NFA firearm until there is a tube attached I opted to start there while I waited for my form 1 to process. Yesterday in the mail I received a 6.25" x 3.5" diameter chunk of 4140 Q&T. Then the problems started. My chuck is evidently only big enough to hold 3" on the OD. I thought the jaws were reversible but they are not. I make suppressors normally. Not big things. So what to do...well I have a drill press and some Starett layout tools. Mark the centers on both ends, mark an offset hole inside the 3" mark so I can make a section fit the chuck, drive in a dowel pin in the offset hole. Turn a sacrificial dead center in my head stock and mount the whole thing between centers. Mind you I've never done any of this but it seemed like as good a plan as any. I rang my step dad who was a machinist for 35 years (and recently handed down his kennedy boxes full of awesome things since he's retired) and he confirmed that my game plan was sound.
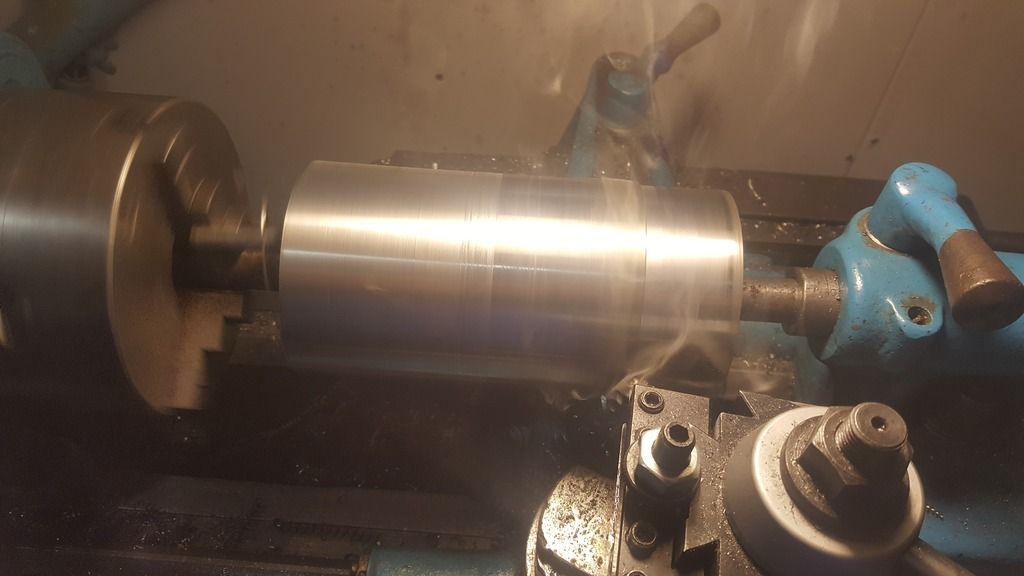
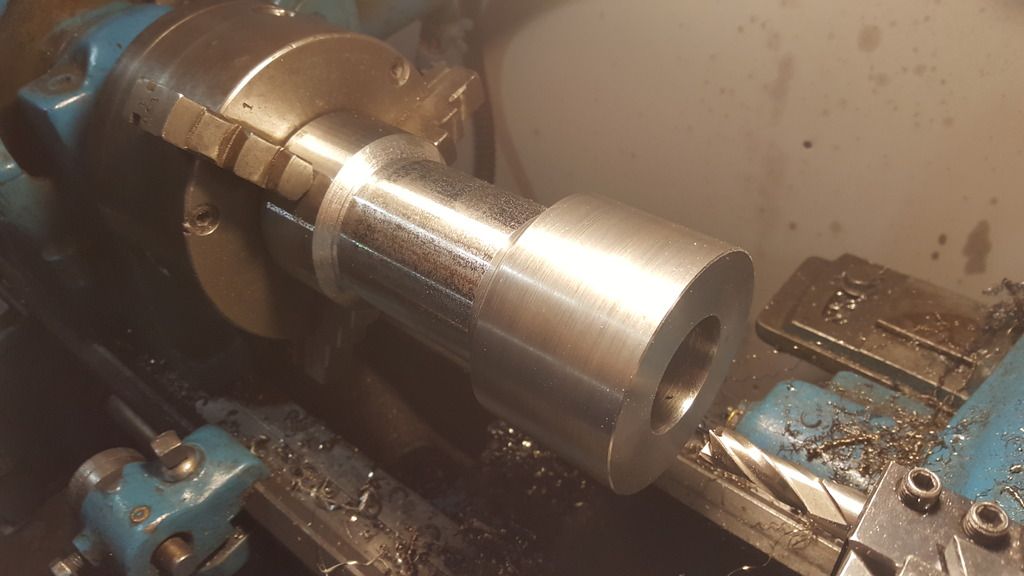
By the end of the night I had spent way more time than intended getting the OD to my specification of 3.156. At 10 minutes per pass (100ish rpm, .006 IPR, .050 DOC) there is a lot of standing around. The first 4 passes were light to get everything concentric and it rattled like a sum'bitch from the interrupted cut and my drive pin engaging/disengaging. Any faster RPM's even with good brazed carbide and chips turned stringy and dangerous. More DOC or IPR and I'd stall my drive belt which is intentionally set kind of light to keep from breaking parts.
Since the cup is not an NFA firearm until there is a tube attached I opted to start there while I waited for my form 1 to process. Yesterday in the mail I received a 6.25" x 3.5" diameter chunk of 4140 Q&T. Then the problems started. My chuck is evidently only big enough to hold 3" on the OD. I thought the jaws were reversible but they are not. I make suppressors normally. Not big things. So what to do...well I have a drill press and some Starett layout tools. Mark the centers on both ends, mark an offset hole inside the 3" mark so I can make a section fit the chuck, drive in a dowel pin in the offset hole. Turn a sacrificial dead center in my head stock and mount the whole thing between centers. Mind you I've never done any of this but it seemed like as good a plan as any. I rang my step dad who was a machinist for 35 years (and recently handed down his kennedy boxes full of awesome things since he's retired) and he confirmed that my game plan was sound.
By the end of the night I had spent way more time than intended getting the OD to my specification of 3.156. At 10 minutes per pass (100ish rpm, .006 IPR, .050 DOC) there is a lot of standing around. The first 4 passes were light to get everything concentric and it rattled like a sum'bitch from the interrupted cut and my drive pin engaging/disengaging. Any faster RPM's even with good brazed carbide and chips turned stringy and dangerous. More DOC or IPR and I'd stall my drive belt which is intentionally set kind of light to keep from breaking parts.